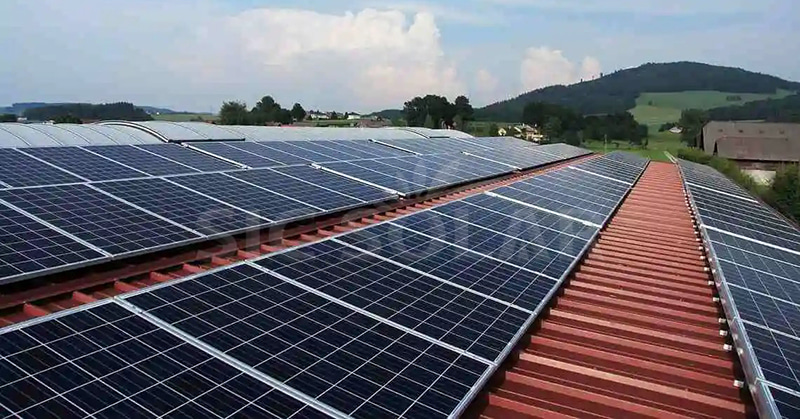
Harnessing the power of the sun through rooftop solar panels is a smart way to tap into renewable energy and make the most of your home’s available space. The process of getting those panels up on your roof involves meticulous planning, top-notch materials, and the know-how of professionals to ensure the system is both safe and long-lasting.
Key Steps for Rooftop Solar Panel Installation
- Assessing Roof Condition Before the panels go up, it’s essential to take a close look at your roof:
- Structural Integrity: Make sure it can handle the extra weight from the panels and their mounts.
- Orientation and Angle: Figure out the best spot for maximum sun exposure. A well-maintained roof not only supports the panels well but also helps the installation last longer.
- Choosing the Right Mounting System The mounting system is what holds the solar panels in place on your roof, keeping them secure even in bad weather. The choice depends on your roof material:
- Pitched Roofs: Use roof hooks and rail systems.
- Metal Roofs: Go for clamps that attach to seams without needing to drill.
- Flat Roofs: Ballasted systems or adjustable mounts are often the best bet. SIC Solar stands out for providing custom mounting systems for all types of roofs, designed for durability, ease of installation, and peak efficiency.
- Marking and Preparing Attachment Points For pitched roofs, the attachment points usually line up with the roof rafters for stability.
- Use a stud finder to locate those rafters.
- Mark where the mounts or hooks will go. Flat roofs might not need penetration; ballasted systems use weight to keep the panels in place.
- Installing Roof Mounts or Hooks Secure the mounting system to the roof:
- If needed, drill into the roof and attach the brackets to the rafters.
- Use flashing to create a watertight seal and prevent leaks. SIC Solar’s corrosion-resistant roof hooks and brackets ensure a secure and weatherproof installation.
- Attaching Rails to the Mounting System Rails provide the structure to which the solar panels will be fixed.
- Align the rails and secure them to the mounts.
- Make sure the rails are level for proper panel alignment.
- Securing Solar Panels to the Rails Once the rails are in place, it’s time to attach the solar panels:
- Use mid-clamps and end-clamps to fasten the panels securely.
- Leave space between the panels for airflow and to prevent overheating. SIC Solar offers a variety of clamps and connectors for quick and reliable panel attachment.
- Connecting the Electrical Components After the panels are physically secured, it’s time to connect them to the inverter and the electrical grid or battery storage system. Make sure all wiring is properly insulated and protected to prevent damage.
Tips for a Successful Installation
- Hire Professionals: While DIY is an option, professionals ensure compliance with building codes and safety standards.
- Invest in Quality: Reliable mounting systems from SIC Solar enhance the longevity and safety of your solar installation.
- Maintain the System: Regular inspections and cleaning help maximize the system’s efficiency and lifespan.
Why Choose SIC Solar for Mounting Systems?
SIC Solar is a leader in photovoltaic mounting solutions, offering products that are:
- Durable: Made with high-quality materials like aluminum and stainless steel for corrosion resistance.
- Customizable: Tailored to various roof types and project requirements.
- Easy to Install: Designed for quick and straightforward installation, reducing labor time.

Their innovative designs ensure that solar panels are securely attached while protecting the roof from damage. When attaching solar panels to a roof, using the right tools and materials makes the process straightforward. By following the proper steps and investing in high-quality mounting systems, you can ensure a safe and efficient solar installation. SIC Solar reliable products provide the foundation for long-lasting and effective rooftop solar systems, helping homeowners and businesses maximize their solar energy investments.